使用 OpenCV 进行仪表数值读取
最近遇到一个问题,如何读取仪表中的指针指向的刻度
解决方法有多种,比如
- 方案一:模板匹配 + 边缘检测 + 霍夫直线检测
- 方案二:神将网络(CNN)目标定位等
- 方案三: 模板匹配 +
K-means+ 直线拟合
其中 CNN 就有点麻烦了,需要一定数量的训练样本,太麻烦,而方案一太普通,最后我采用了方案三
具体做法如下:
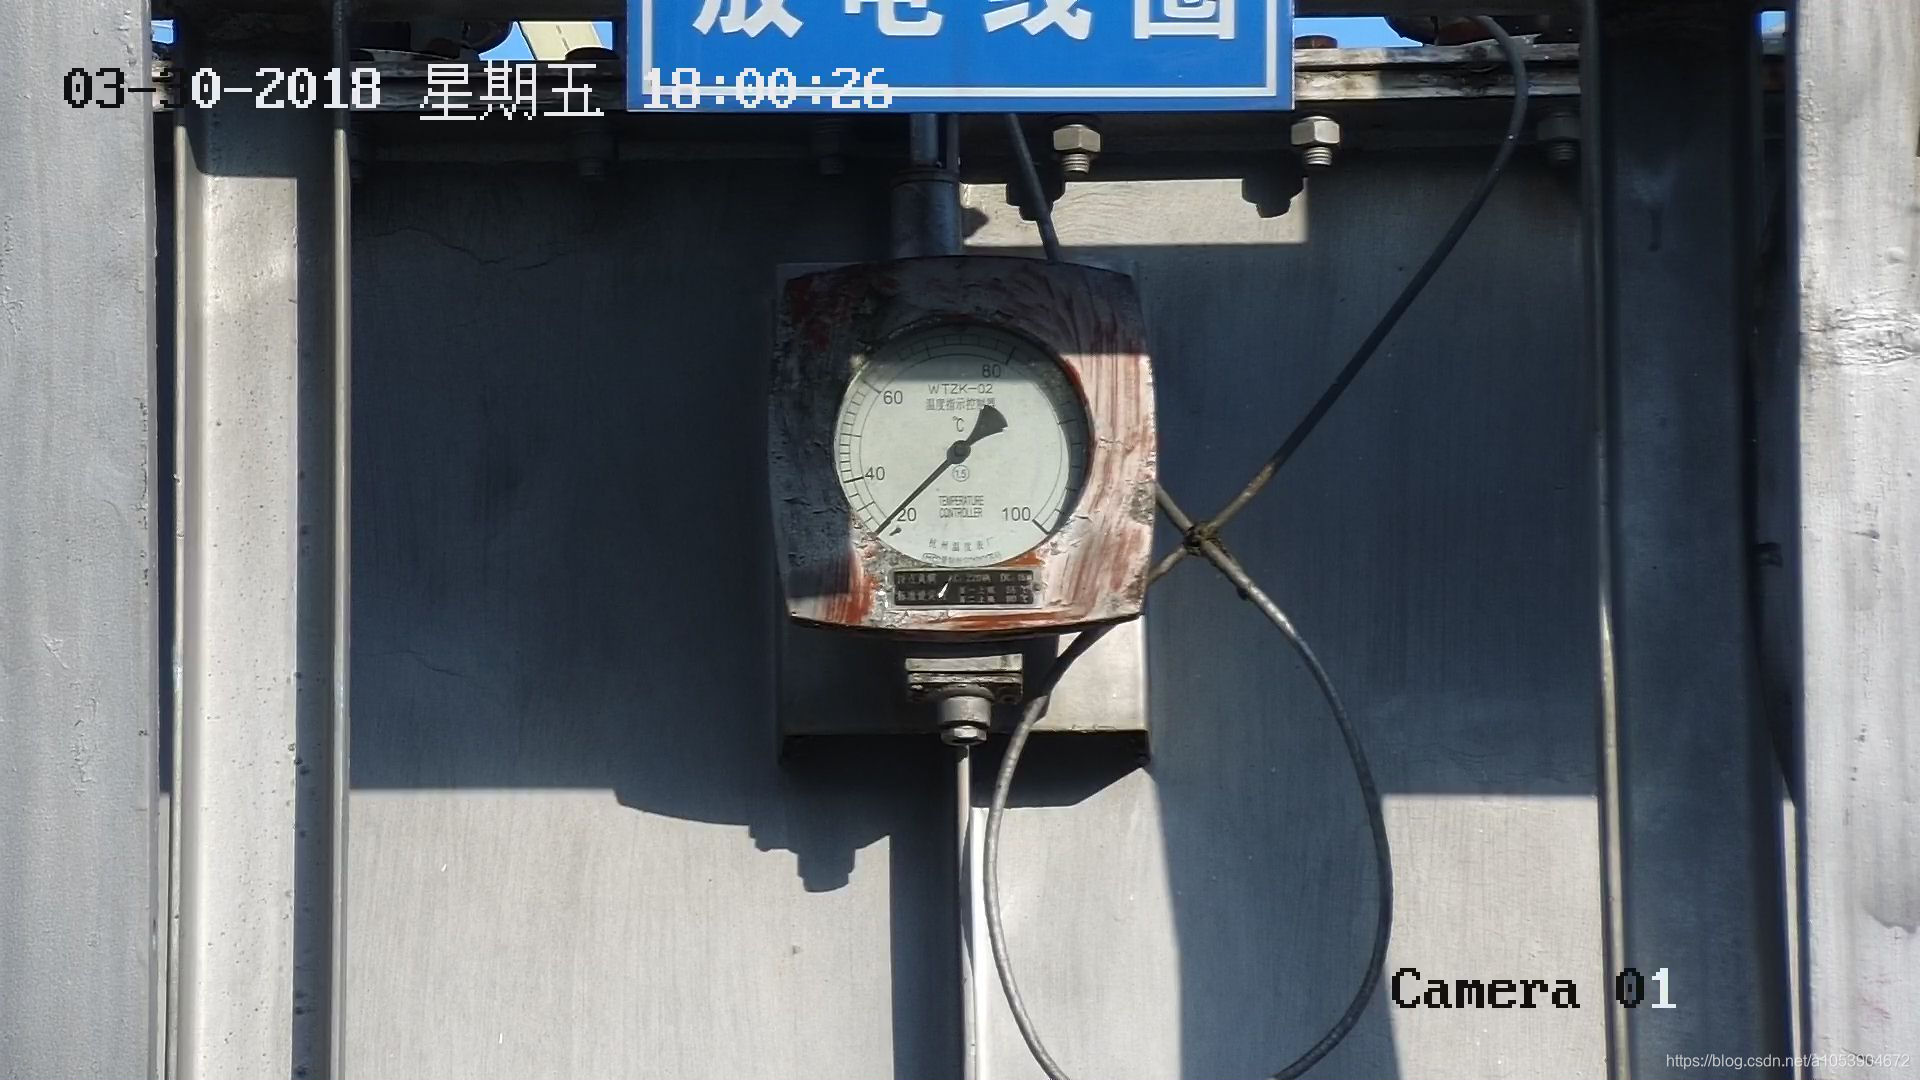
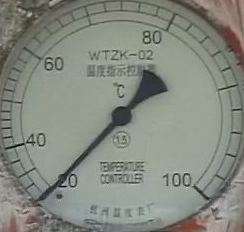
首先说一下模板匹配,它是 OpenCV 自带的一个算法,可以根据一个模板图到目标图上去寻找对应位置,如果模板找的比较好那么效果显著,这里说一下寻找模板的技巧,模板一定要标准、精准且特征明显。 第一次的模板选取如下:
匹配的效果如下:
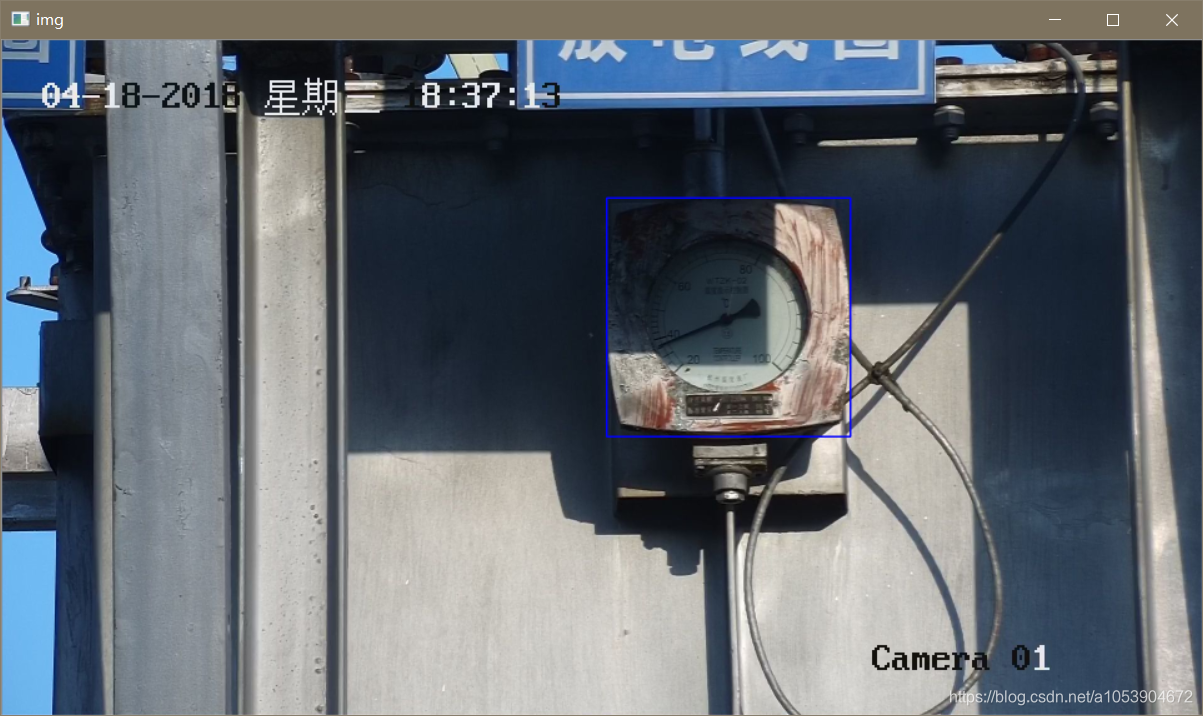
根据模板选取的原则我们,必须进行两次匹配才能的到精确和更高准确率的结果
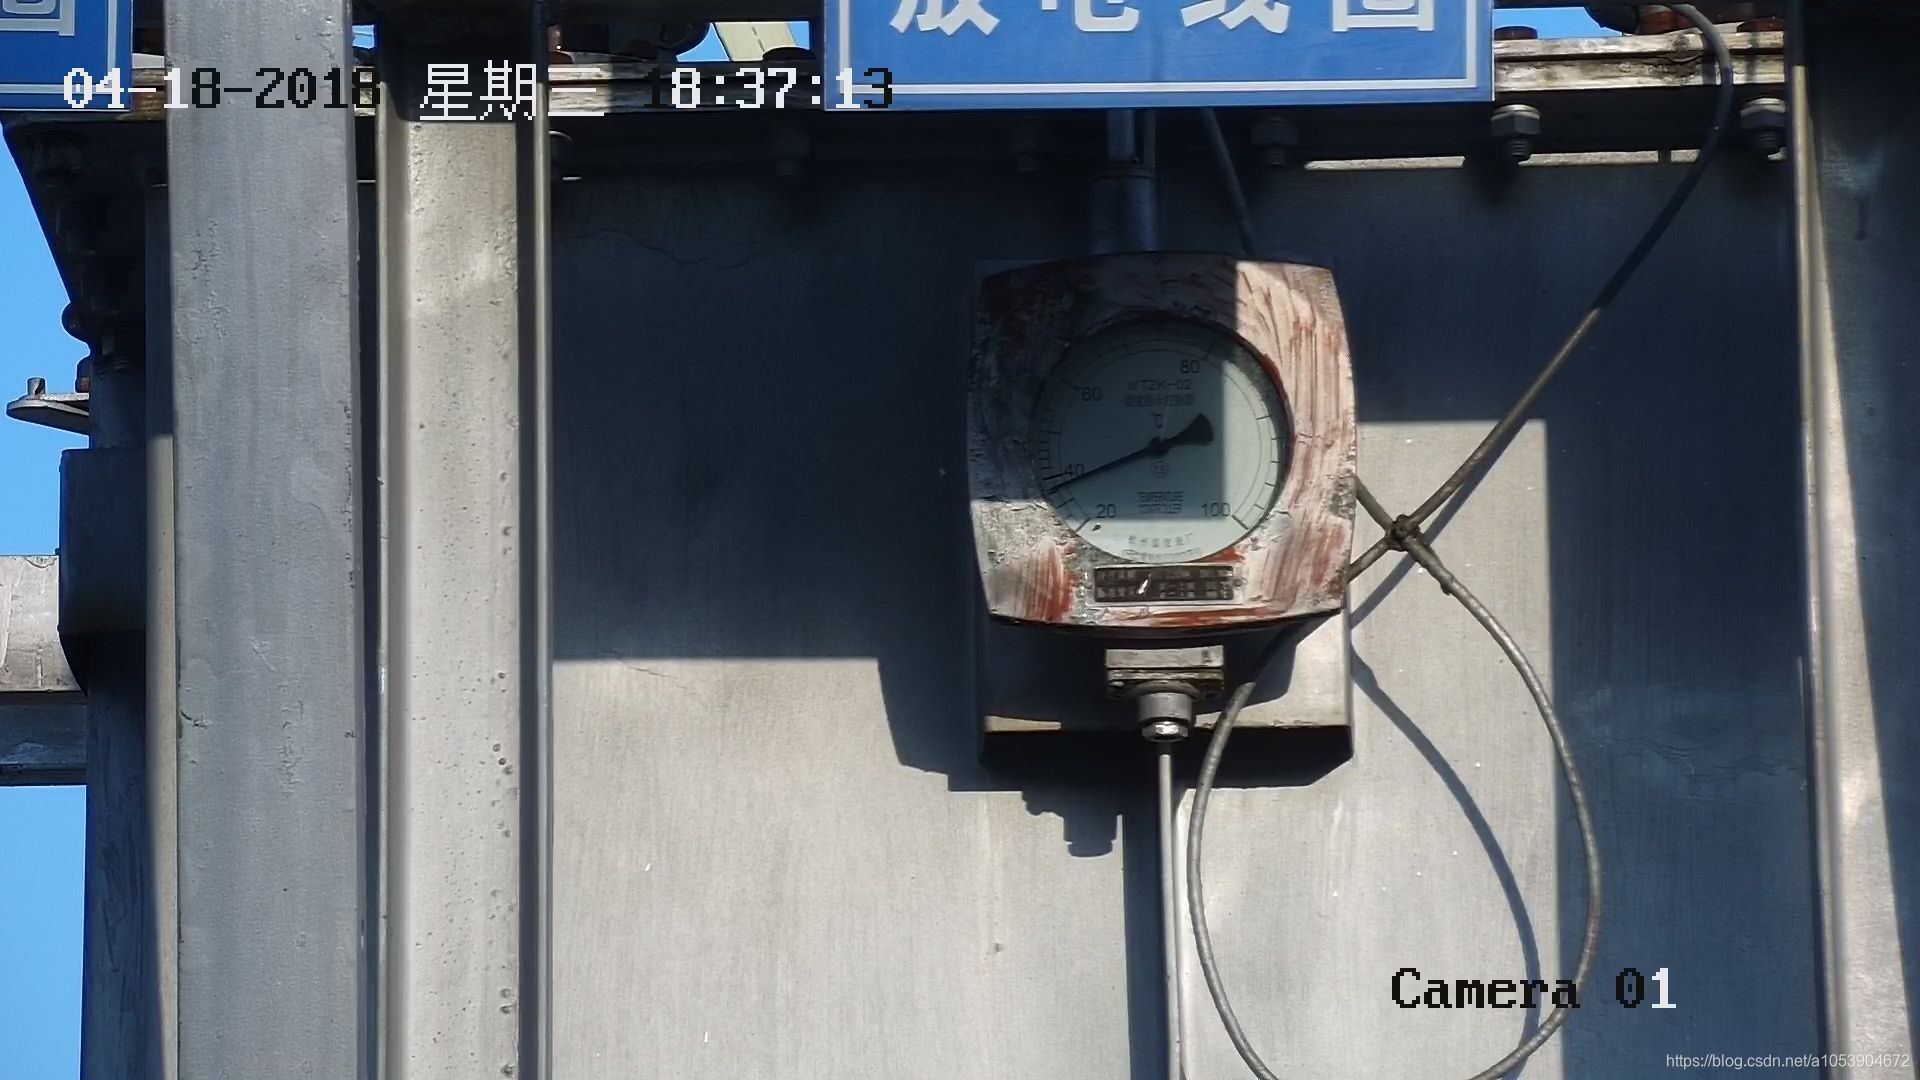
第二次的模板如下:
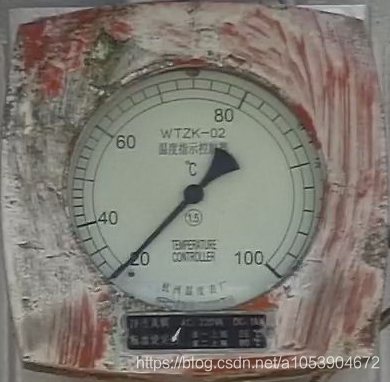
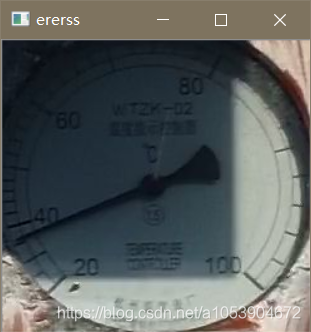
然后在第一次结果的的基础上也就是蓝色矩形框区域进行第二次匹配,结果如下:
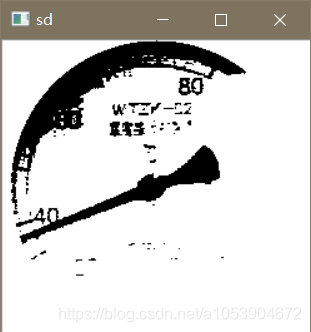
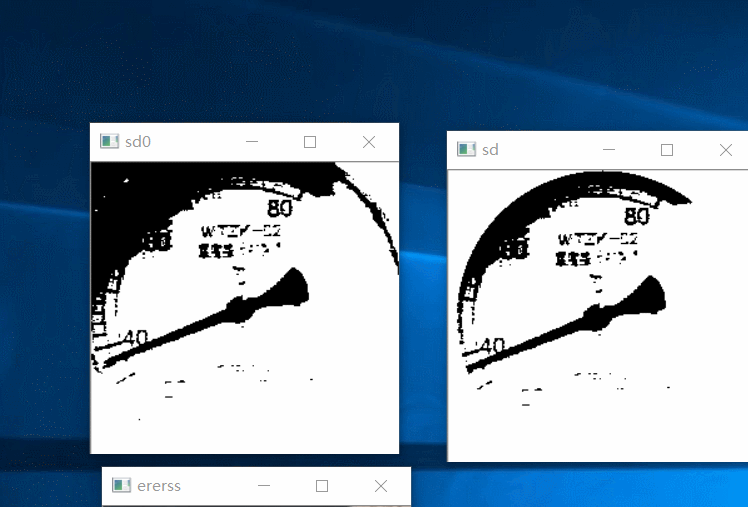
下面对上图进行 k-means 二值化,由于途中的阴影,所以只截取原图的 0.6(从中心)作为 k-means 聚类的样本点,然后将聚类结果应用至上图并重新二值化(聚类结果为 2,求中值,根据中值二值化),同时只保留内切圆部分,效果如下:
接下来就是拟合直线,拟合直线我采用旋转虚拟直线法,假设一条直线从右边 0 度位置顺时针绕中心旋转当它转到指针指向的位置时重合的最多,此时记录下角度,最后根据角度计算刻度值。效果图如下:
 最后就读取到了数值:
聚类结果:
[[31.99054054 23.04324324 14.89054054], [62.69068323 53.56024845 40.05652174]]
重合数量和对应角度: (1566, 158)
对应刻度:36.005082940886126
源码如下:
1
2
3
4
5
6
7
8
9
10
11
12
13
14
15
16
17
18
19
20
21
22
23
24
25
26
27
28
29
30
31
32
33
34
35
36
37
38
39
40
41
42
43
44
45
46
47
48
49
50
51
52
53
54
55
56
57
58
59
60
61
62
63
64
65
66
67
68
69
70
71
72
73
74
75
76
77
78
79
80
81
82
83
84
85
86
87
88
89
90
91
92
93
94
95
96
97
98
99
100
101
102
103
104
105
106
107
108
109
110
111
112
113
114
115
116
117
118
119
120
121
122
123
124
125
126
127
128
129
130
131
132
133
134
135
136
137
138
139
140
141
142
143
144
145
146
147
148
import cv2
import numpy as np
from sklearn.cluster import KMeans
from sklearn.utils import shuffle
from math import cos, pi, sin
from 计算刻度值 import get_rad_val

methods = ['cv2.TM_CCOEFF', 'cv2.TM_CCOEFF_NORMED', 'cv2.TM_CCORR',
               'cv2.TM_CCORR_NORMED', 'cv2.TM_SQDIFF', 'cv2.TM_SQDIFF_NORMED']
method = cv2.TM_CCOEFF

def get_match_rect(template,img,method):
    '''获取模板匹配的矩形的左上角和右下角的坐标'''
    w, h = template.shape[1],template.shape[0]
    res = cv2.matchTemplate(img, template, method)
    mn_val, max_val, min_loc, max_loc = cv2.minMaxLoc(res)
    # 使用不同的方法,对结果的解释不同
    if method in [cv2.TM_SQDIFF, cv2.TM_SQDIFF_NORMED]:
        top_left = min_loc
    else:
        top_left = max_loc
    bottom_right = (top_left[0] + w, top_left[1] + h)
    return top_left,bottom_right

def get_center_point(top_left,bottom_right):
    '''传入左上角和右下角坐标,获取中心点'''
    c_x, c_y = ((np.array(top_left) + np.array(bottom_right)) / 2).astype(np.int)
    return c_x,c_y

def get_circle_field_color(img,center,r,thickness):
    '''获取中心圆形区域的色值集'''
    temp=img.copy().astype(np.int)
    cv2.circle(temp,center,r,-100,thickness=thickness)
    return img[temp == -100]

def v2_by_center_circle(img,colors):
    '''二值化通过中心圆的颜色集合'''
    for i in range(img.shape[0]):
        for j in range(img.shape[1]):
            a = img[i, j]
            if a in colors:
                img[i, j] = 0
            else:
                img[i, j] = 255

def v2_by_k_means(img):
    '''使用k-means二值化'''
    original_img = np.array(img, dtype=np.float64)
    src = original_img.copy()
    delta_y = int(original_img.shape[0] * (0.4))
    delta_x = int(original_img.shape[1] * (0.4))
    original_img = original_img[delta_y:-delta_y, delta_x:-delta_x]
    h, w, d = src.shape
    print(w, h, d)
    dts = min([w, h])
    print(dts)
    r2 = (dts / 2) ** 2
    c_x, c_y = w / 2, h / 2
    a: np.ndarray = original_img[:, :, 0:3].astype(np.uint8)
    # 获取尺寸(宽度、长度、深度)
    height, width = original_img.shape[0], original_img.shape[1]
    depth = 3
    print(depth)
    image_flattened = np.reshape(original_img, (width * height, depth))
    '''
    用K-Means算法在颜色样本中建立2个类。
    '''
    image_array_sample = shuffle(image_flattened, random_state=0)
    estimator = KMeans(n_clusters=2, random_state=0)
    estimator.fit(image_array_sample)
    '''
    我们为原始图片的每个像素进行类的分配。
    '''
    src_shape = src.shape
    new_img_flattened = np.reshape(src, (src_shape[0] * src_shape[1], depth))
    cluster_assignments = estimator.predict(new_img_flattened)
    compressed_palette = estimator.cluster_centers_
    print(compressed_palette)
    a = np.apply_along_axis(func1d=lambda x: np.uint8(compressed_palette[x]), arr=cluster_assignments, axis=0)
    img = a.reshape(src_shape[0], src_shape[1], depth)
    print(compressed_palette[0, 0])
    threshold = (compressed_palette[0, 0] + compressed_palette[1, 0]) / 2
    img[img[:, :, 0] > threshold] = 255
    img[img[:, :, 0] < threshold] = 0
    cv2.imshow('sd0', img)
    for x in range(w):
        for y in range(h):
            distance = ((x - c_x) ** 2 + (y - c_y) ** 2)
            if distance > r2:
                pass
                img[y, x] = (255, 255, 255)
    cv2.imshow('sd', img)
    cv2.waitKey(0)
    cv2.destroyAllWindows()
    return img

def get_pointer_rad(img):
    '''获取角度'''
    shape = img.shape
    c_y, c_x, depth = int(shape[0] / 2), int(shape[1] / 2), shape[2]
    x1=c_x+c_x*0.8
    src = img.copy()
    freq_list = []
    for i in range(361):
        x = (x1 - c_x) * cos(i * pi / 180) + c_x
        y = (x1 - c_x) * sin(i * pi / 180) + c_y
        temp = src.copy()
        cv2.line(temp, (c_x, c_y), (int(x), int(y)), (0, 0, 255), thickness=3)
        t1 = img.copy()
        t1[temp[:, :, 2] == 255] = 255
        c = img[temp[:, :, 2] == 255]
        points = c[c == 0]
        freq_list.append((len(points), i))
        cv2.imshow('d', temp)
        cv2.imshow('d1', t1)
        cv2.waitKey(1)
    print('当前角度:',max(freq_list, key=lambda x: x[0]),'度')
    cv2.destroyAllWindows()
    return max(freq_list, key=lambda x: x[0])


if __name__ == '__main__':
    for x in range(1,32):
        #获取测试图像
        img_s = cv2.imread('test/ (%s).jpg'%x)
        img=cv2.cvtColor(img_s,cv2.COLOR_BGR2GRAY)
        template = cv2.imread('template1.png')
        template=cv2.cvtColor(template,cv2.COLOR_BGR2GRAY)
        #匹配并返回矩形坐标
        top_left,bottom_right=get_match_rect(template,img,method)
        c_x,c_y=get_center_point(top_left,bottom_right)
        print(c_x,c_y)
        #绘制矩形
        cv2.rectangle(img_s, top_left, bottom_right, 255, 2)
        cv2.imshow('img',cv2.resize(img_s,(int(img.shape[1]*0.5),int(img.shape[0]*0.5))))
        cv2.waitKey(0)
        cv2.destroyAllWindows()
        #################################################################
        new = img_s[top_left[1]:bottom_right[1] + 1, top_left[0]:bottom_right[0] + 1]
        template = cv2.imread('template.png')
        top_left, bottom_right = get_match_rect(template, new, method=method)
        new_ = new[top_left[1]:bottom_right[1] + 1, top_left[0]:bottom_right[0] + 1]
        # 二值化图像
        cv2.imshow('ererss',new_)
        img=v2_by_k_means(new_)
        rad=get_pointer_rad(img)
        #################################################################
        print(get_rad_val(rad[1]),'对应刻度')
本文由作者按照 CC BY 4.0 进行授权